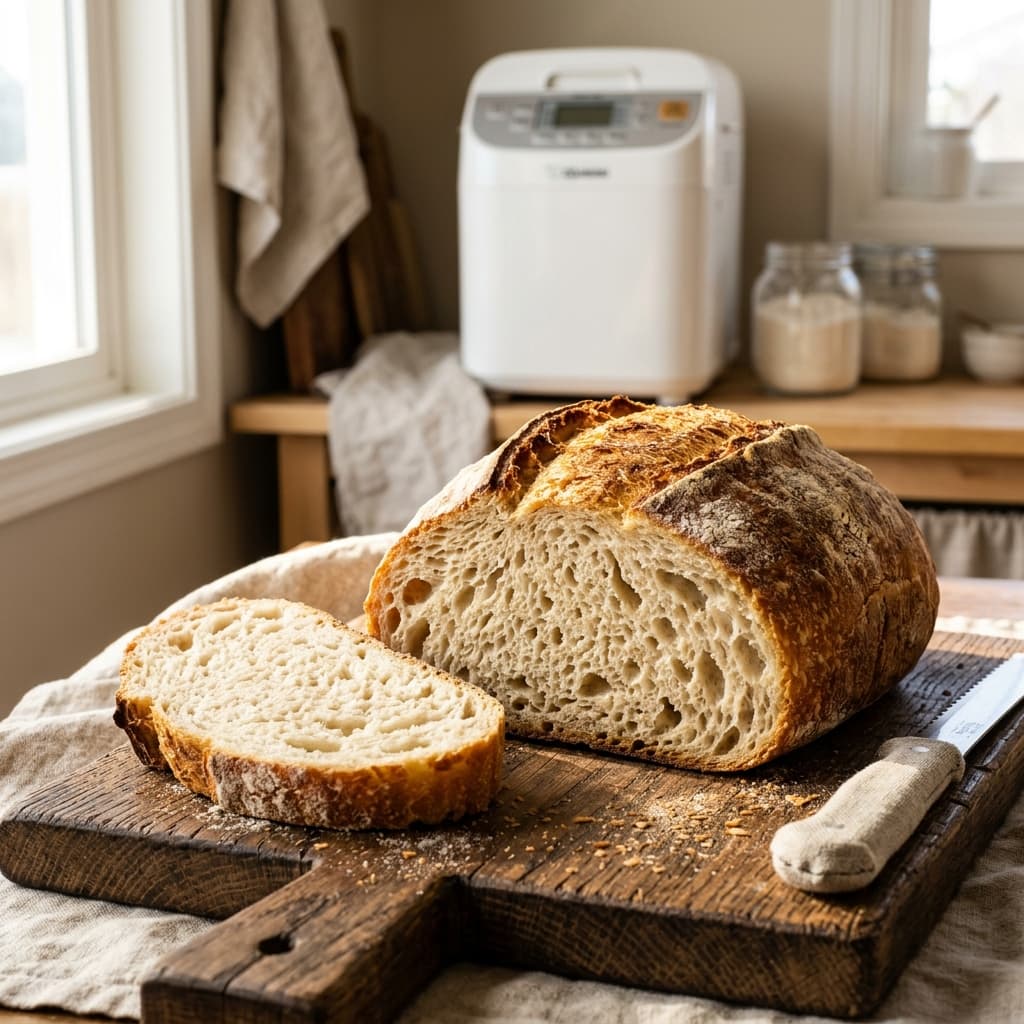
If you have recently transitioned to a gluten-free diet, you already know the struggle: store-bought gluten-free bread is often dry, crumbly, and incredibly expensive. Finding a loaf that actually bends without breaking or tastes good without being toasted feels like finding a unicorn.
But what if you could wake up to the smell of fresh, warm, bakery-quality bread right in your own kitchen? This foolproof gluten free bread recipe for a bread maker is about to revolutionize your mornings.
The Secret to Gluten-Free Bread Maker Success
Baking gluten-free bread is fundamentally different from baking traditional wheat bread. Traditional bread relies on kneading to develop gluten strands. Gluten-free bread, on the other hand, is more like a thick cake batter.
- The Right Flour Blend: Never use a single flour (like just rice flour). You need a high-quality 1-to-1 gluten-free baking blend that includes a mix of flours and starches.
- Room Temperature Liquids: Cold milk or water will shock the yeast. Always ensure your liquids are lukewarm (around 105°F).
- The Single Rise: Gluten-free dough cannot survive the multiple "punch down" and rise cycles that standard bread machines use. You must use the "Gluten-Free" setting on your machine, which only rises once.
Morning Bakery Cafe Menu
Once you master this loaf, your kitchen will rival the best artisan cafes in town. We partnered with allrecipes to design a "Morning Bakery & Cafe" mock menu to show off the versatility of your new homemade bread!
For a truly unique, savory breakfast experience, try tearing off a warm chunk of this fresh bread and dipping it into a Gluten-Free Queso Fusion Breakfast Bowl. Pairing the soft, airy crumb of homemade bread with a modern, warm breakfast queso takes comfort food to an entirely new level!
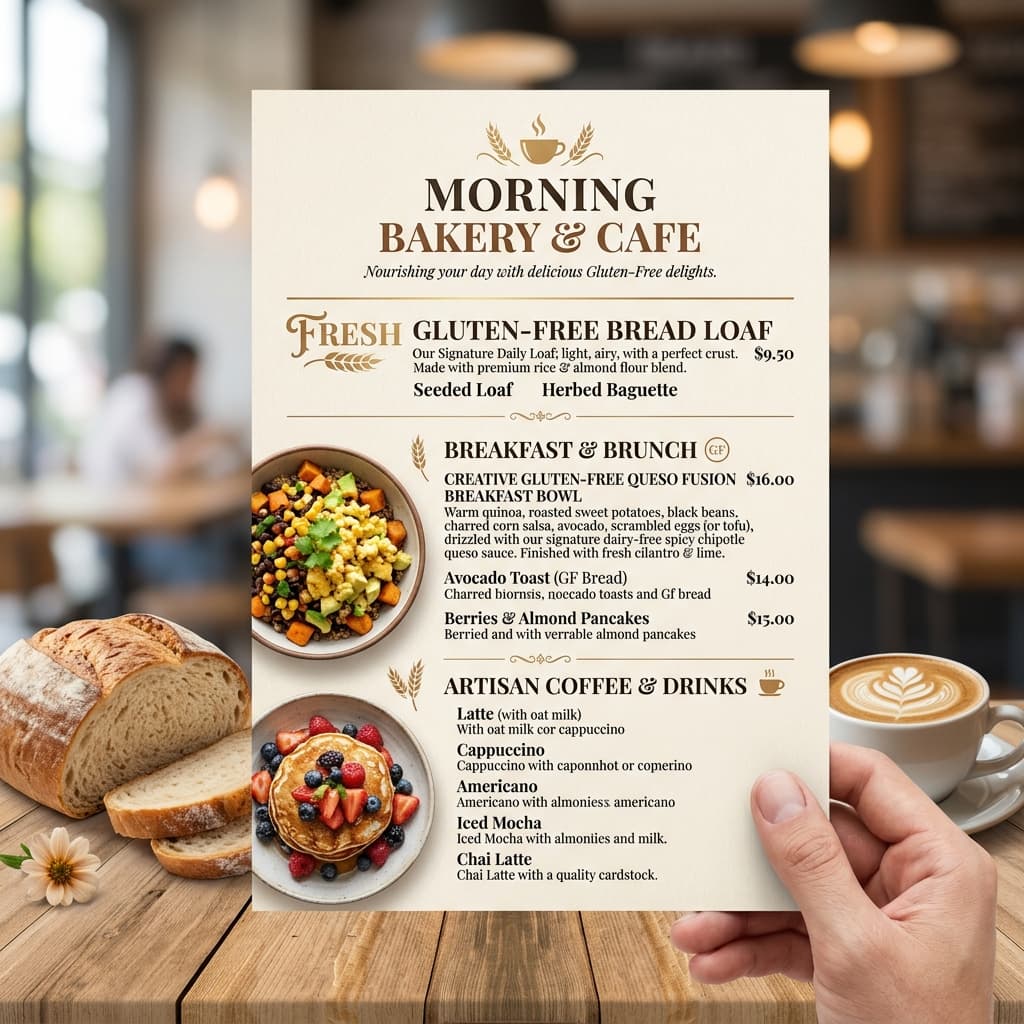
Figure 1: Our "Morning Bakery & Cafe" Menu Card. Artisan bread meets creative morning fusions.
Layering the Ingredients
The order in which you add ingredients to your bread maker is critical. Always follow the manufacturer's instructions for your specific machine, but the general rule for gluten-free baking is:
Chef's Tip:
Liquids first, dry ingredients second, yeast last. Pour your warm milk, oil, and eggs into the pan first. Then gently spoon the flour blend over the liquid to completely cover it. Finally, make a small, shallow well in the center of the flour and place your yeast in it, ensuring the yeast doesn't touch the liquid until the machine begins mixing!
If you're looking for more ways to accommodate dietary restrictions without sacrificing flavor, check out our guide to Guilt-Free Comfort Food for dinner ideas, or start your morning right with these 3-Ingredient Breakfast Sandwiches (using your new homemade bread, of course!).
Let it Cool Completely
It is incredibly tempting to slice into the bread the second the machine beeps, but you must resist! Gluten-free bread continues to bake and set internally as it cools. If you slice it while it is piping hot, it will become gummy and collapse. Let it rest on a wire rack for at least 2 hours before enjoying that perfect, bakery-quality slice.